
Follow these step-by-step instructions to set up your free demo account on the Savvas Realize® platform.
Please visit the Savvas Support site if you run into any technical issues.
STEP 1
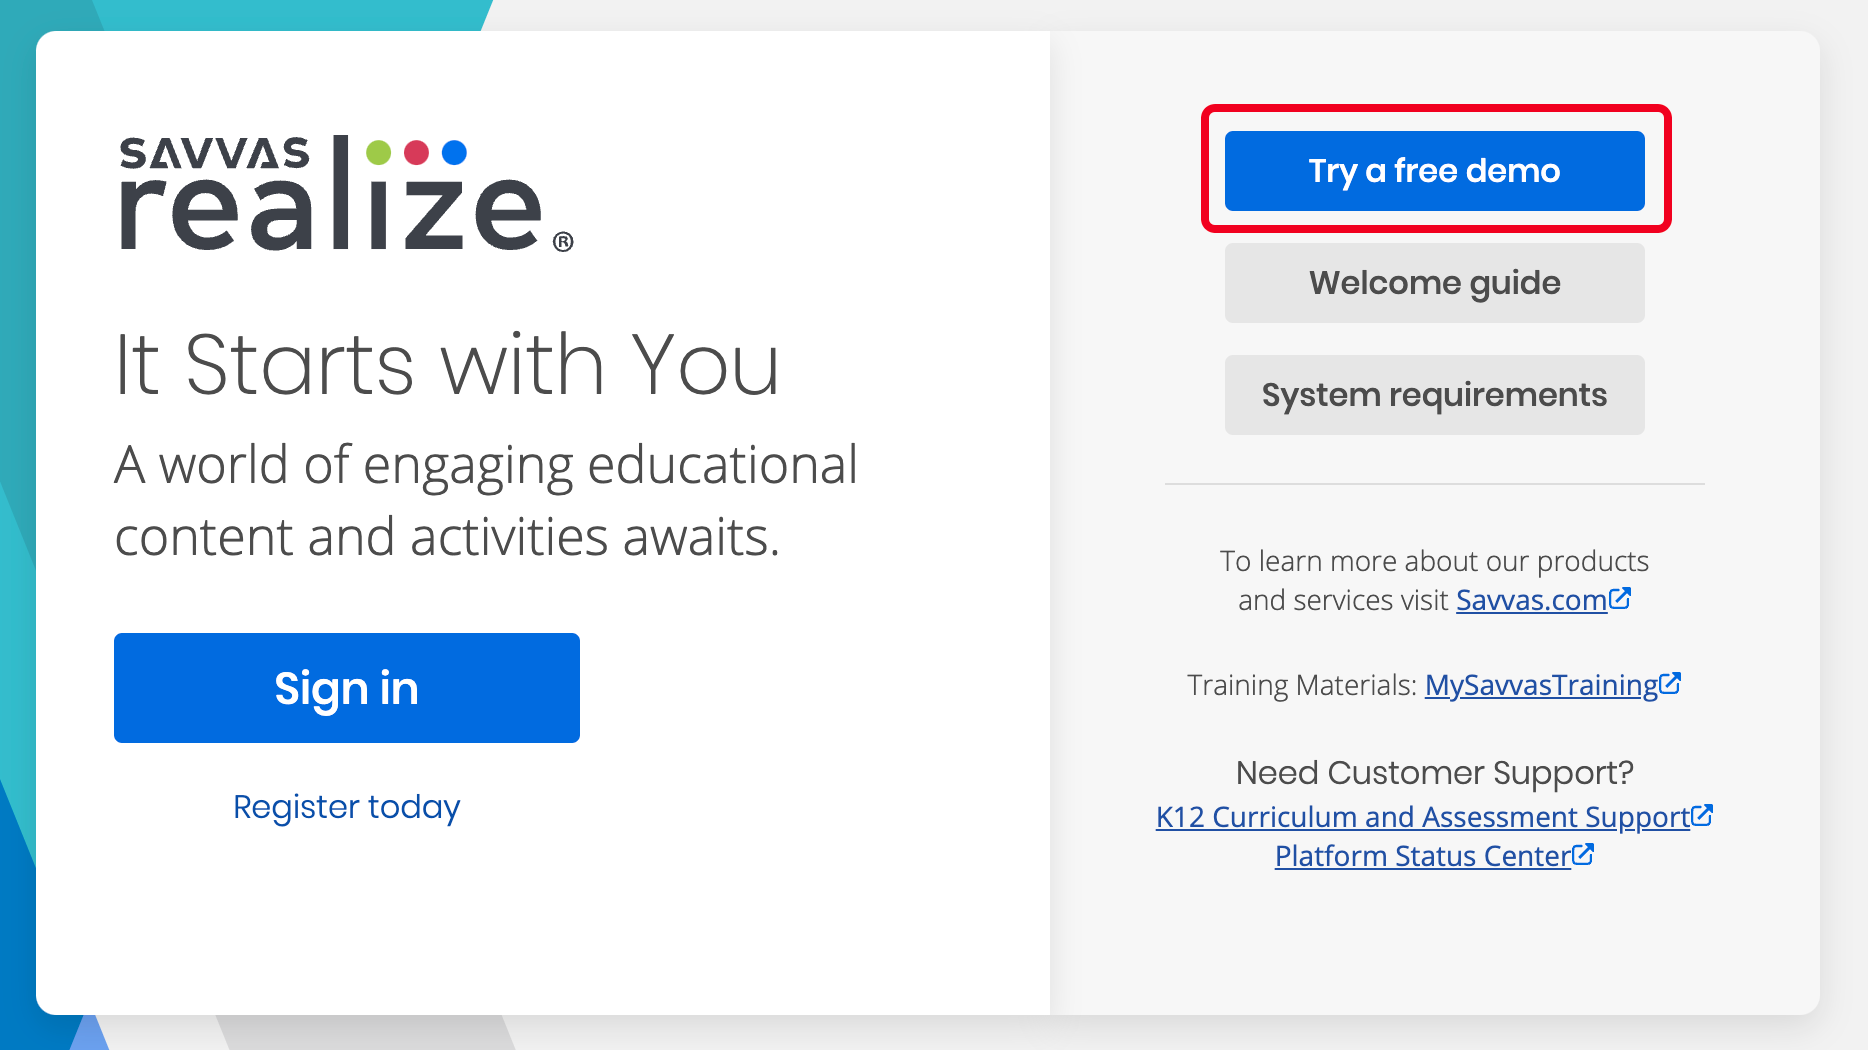
In your web browser, open savvasrealize.com.
STEP 2
In the upper right corner, click on Try a free demo (blue button).
STEP 3
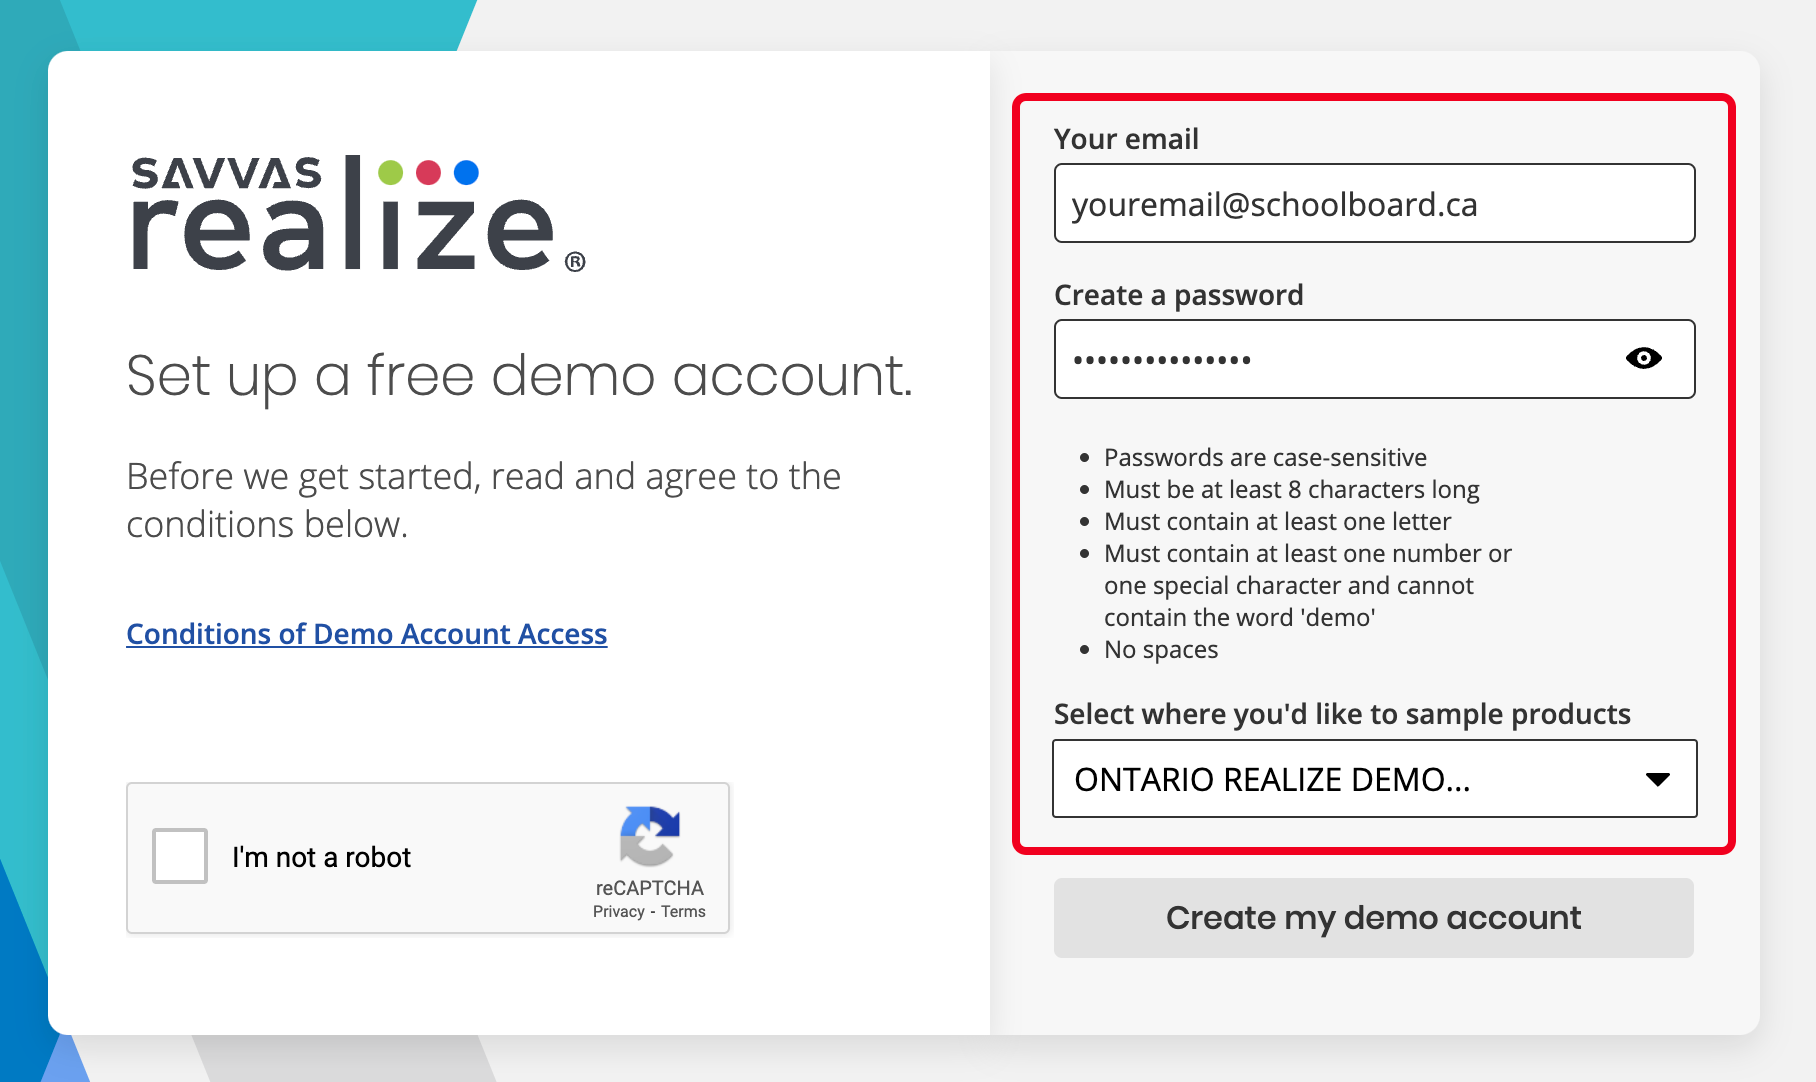
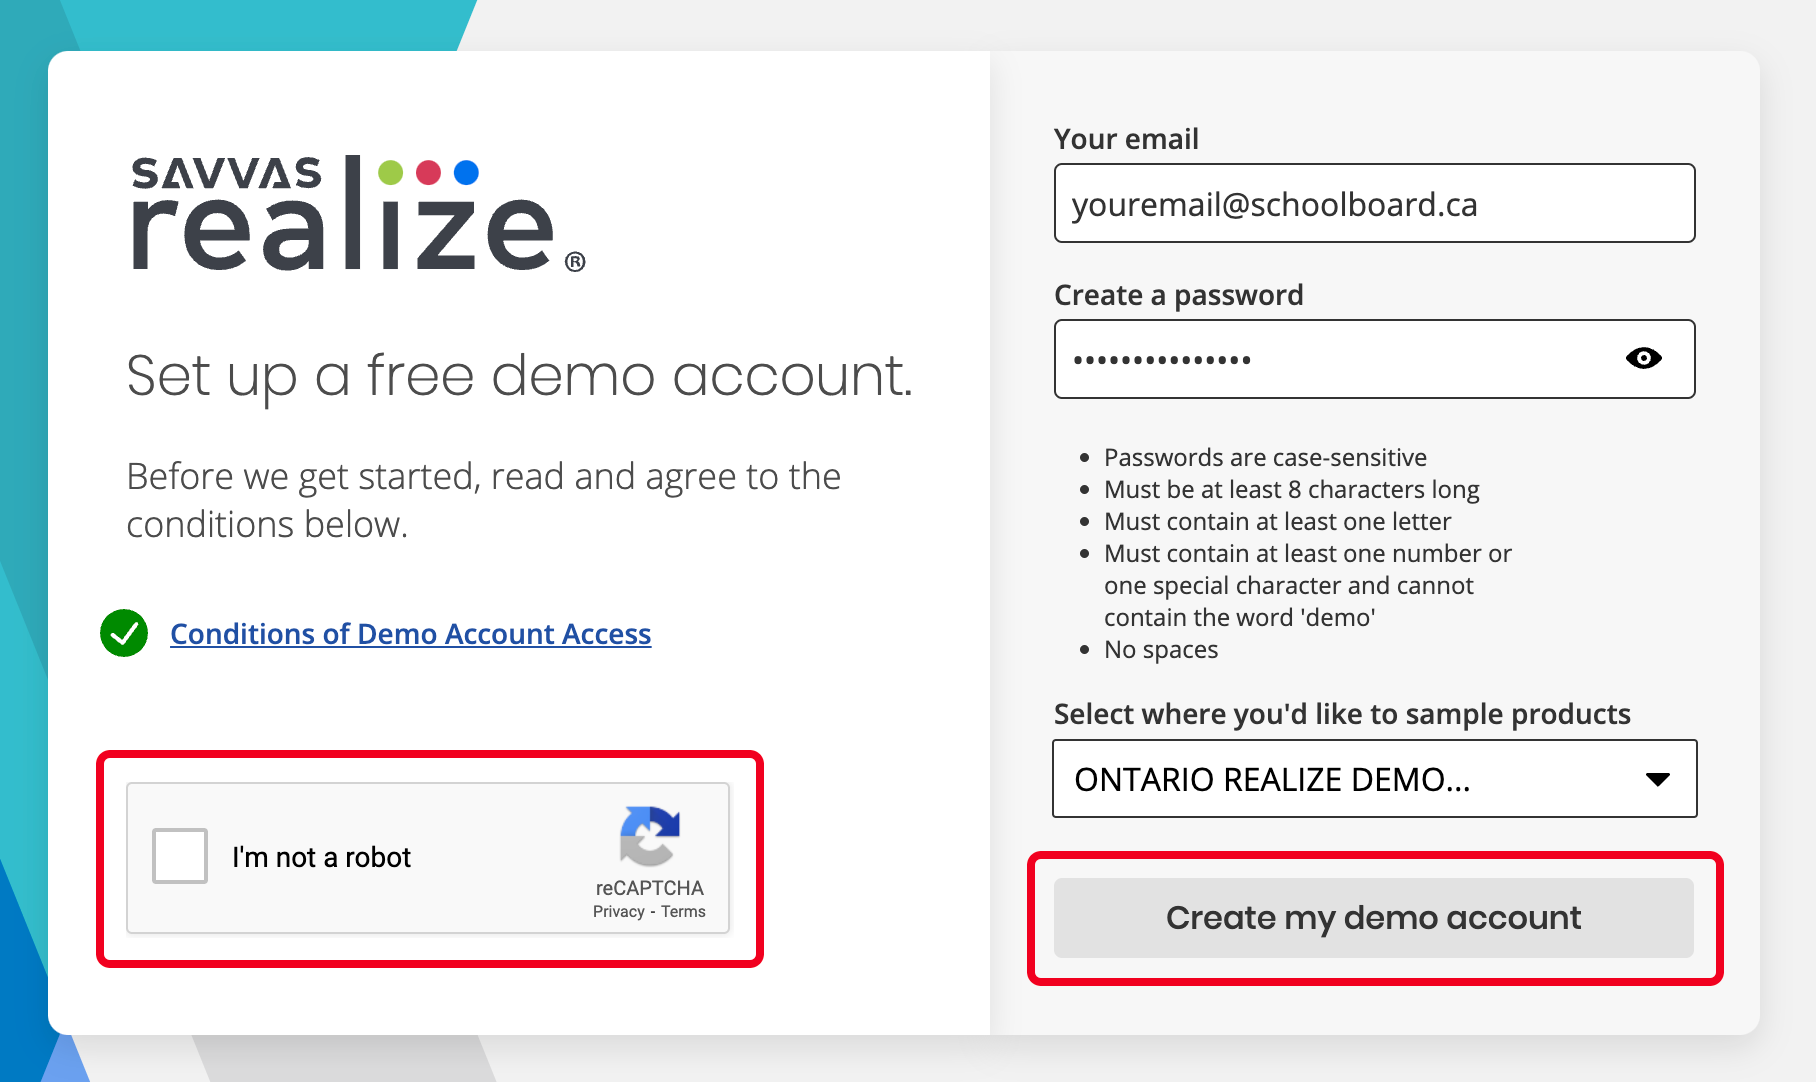
On the right-hand side of the screen:
- Under Your email, enter your school or board email address. Note that personal email addresses, such as Gmail or Yahoo, will not work.
- Under Create a password, enter a password that meets the listed requirements. Make sure to save or write down this password, as you will need it later.
- Under Select where you’d like to sample products, use the dropdown menu to select the province or territory you reside in.
At this point, you will not be able to click the Create my demo account button. This button will be greyed out until you have completed Steps 4 and 5.
STEP 4
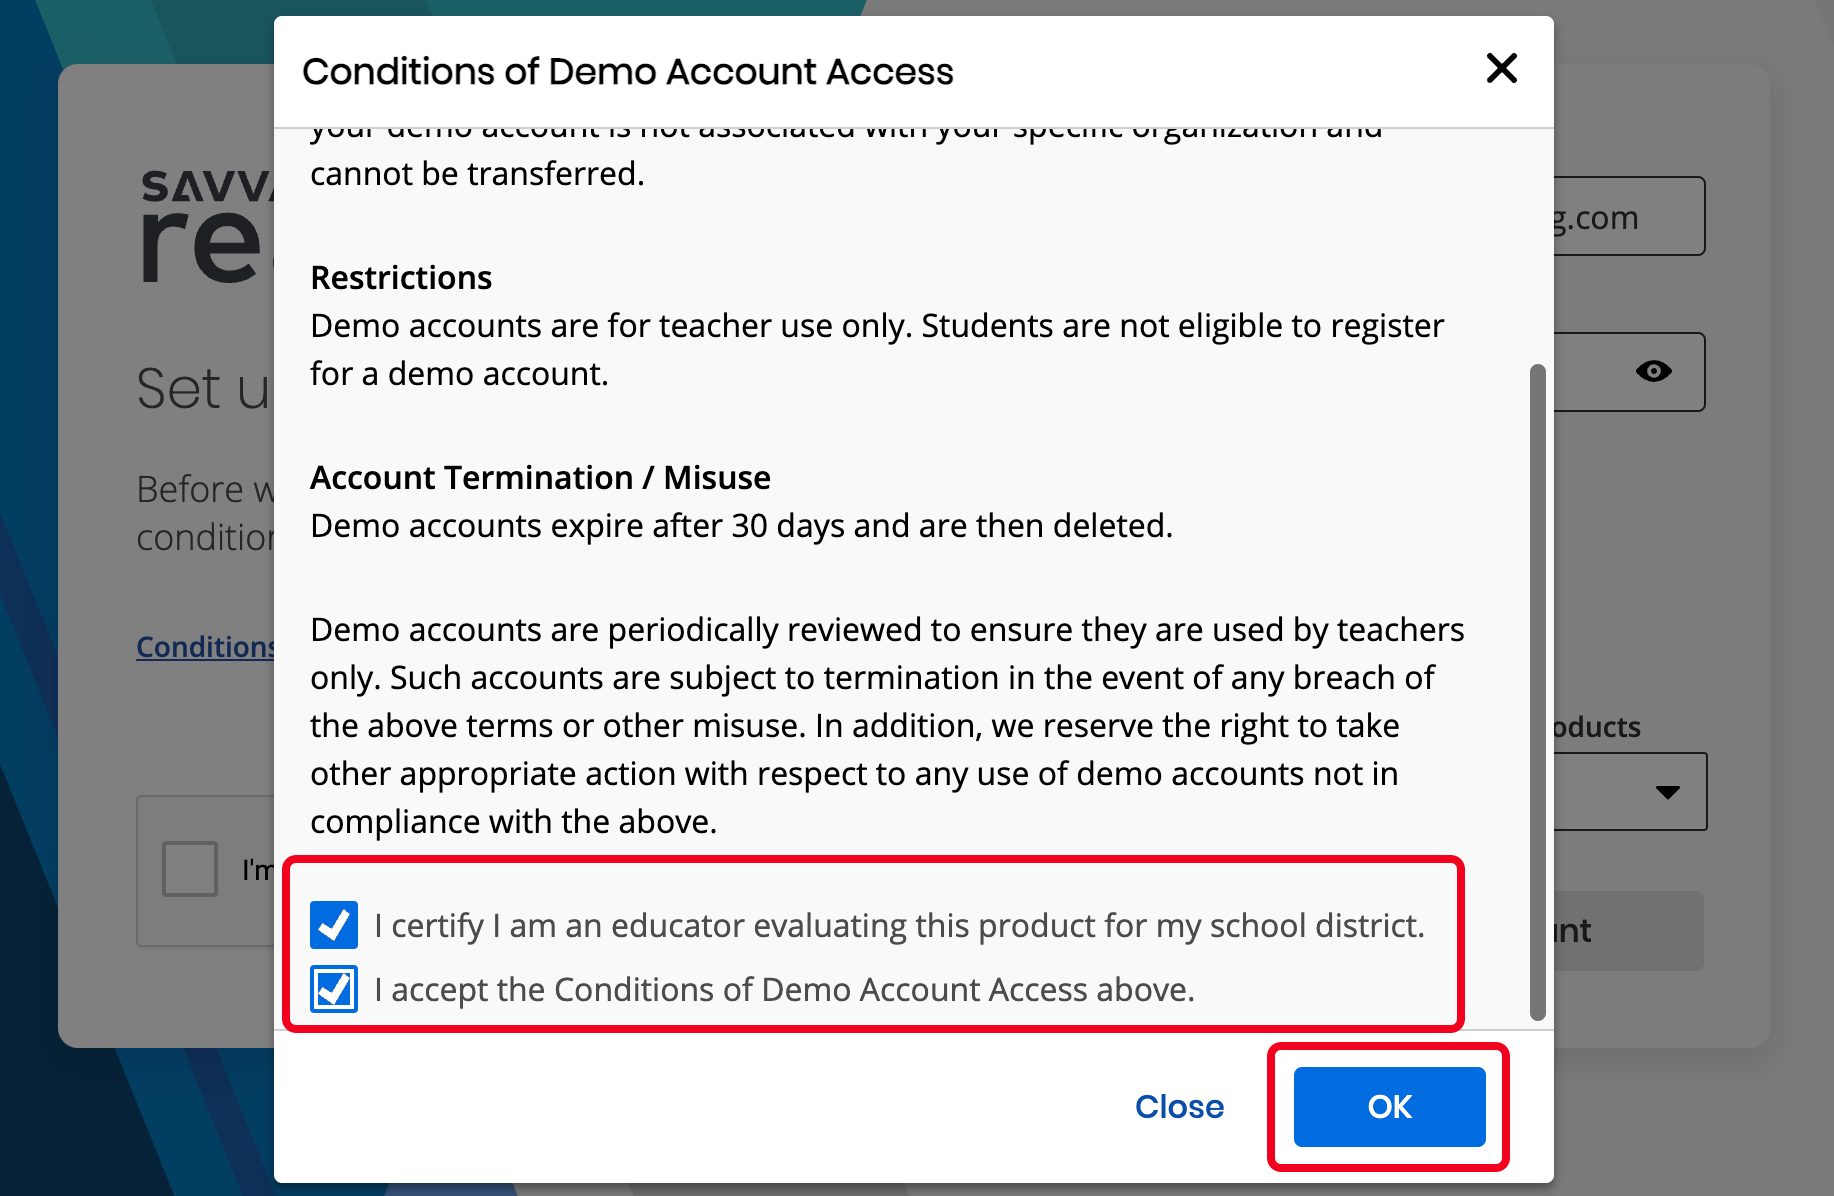
On the left-hand side of the screen, click on the blue Conditions of Demo Account Access link.
A new pop-up window will appear. Read the short Conditions statement. At the bottom, you will need to check off that you agree with the two statements listed. When finished, click the blue OK button to close the pop-up window.
STEP 5
Click the square indicating I’m not a robot.
Once this is complete, the Create my demo account button will turn blue.
Click the blue Create my demo account button.
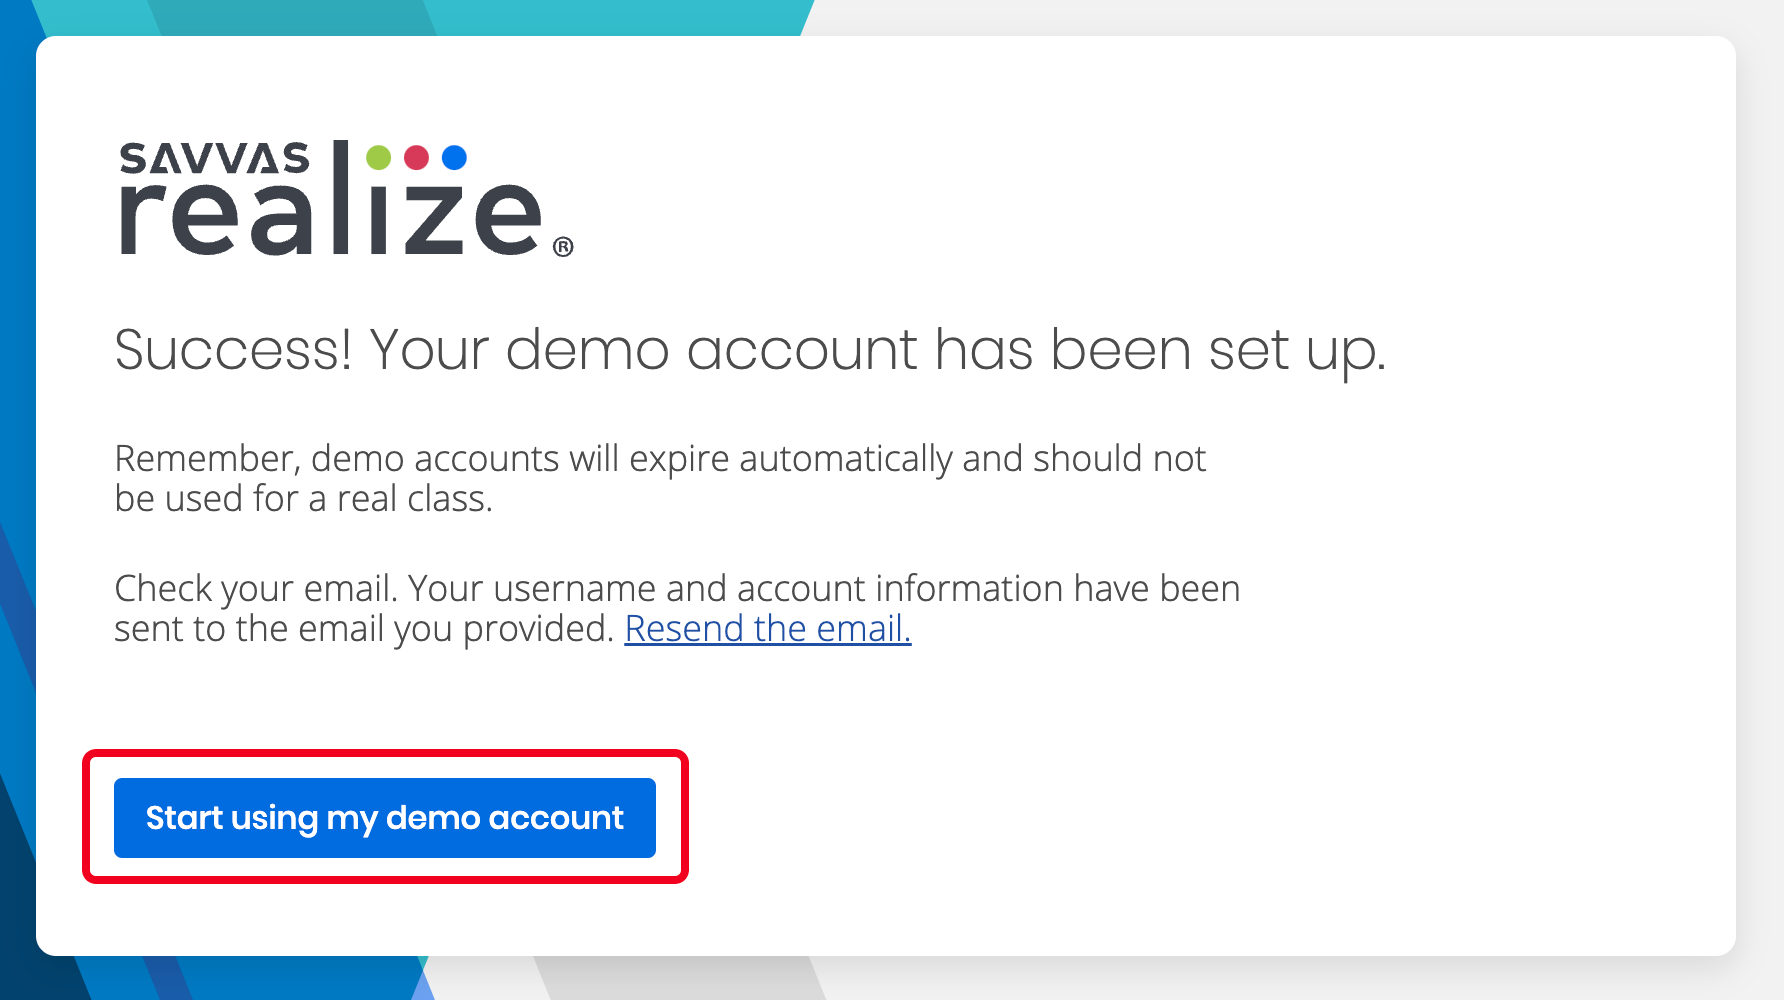
At this point, you will see a confirmation screen. Click the blue Start using my demo account button to navigate to the login page.
STEP 6
Within 10–15 minutes, you will receive an automated email with your new username. The email’s subject line will be Realize demo account and the sender will be no-reply@savvasrealize.com. If you do not see this email within a minute or two, be sure to check your spam folder or email firewall or click Resend the email.
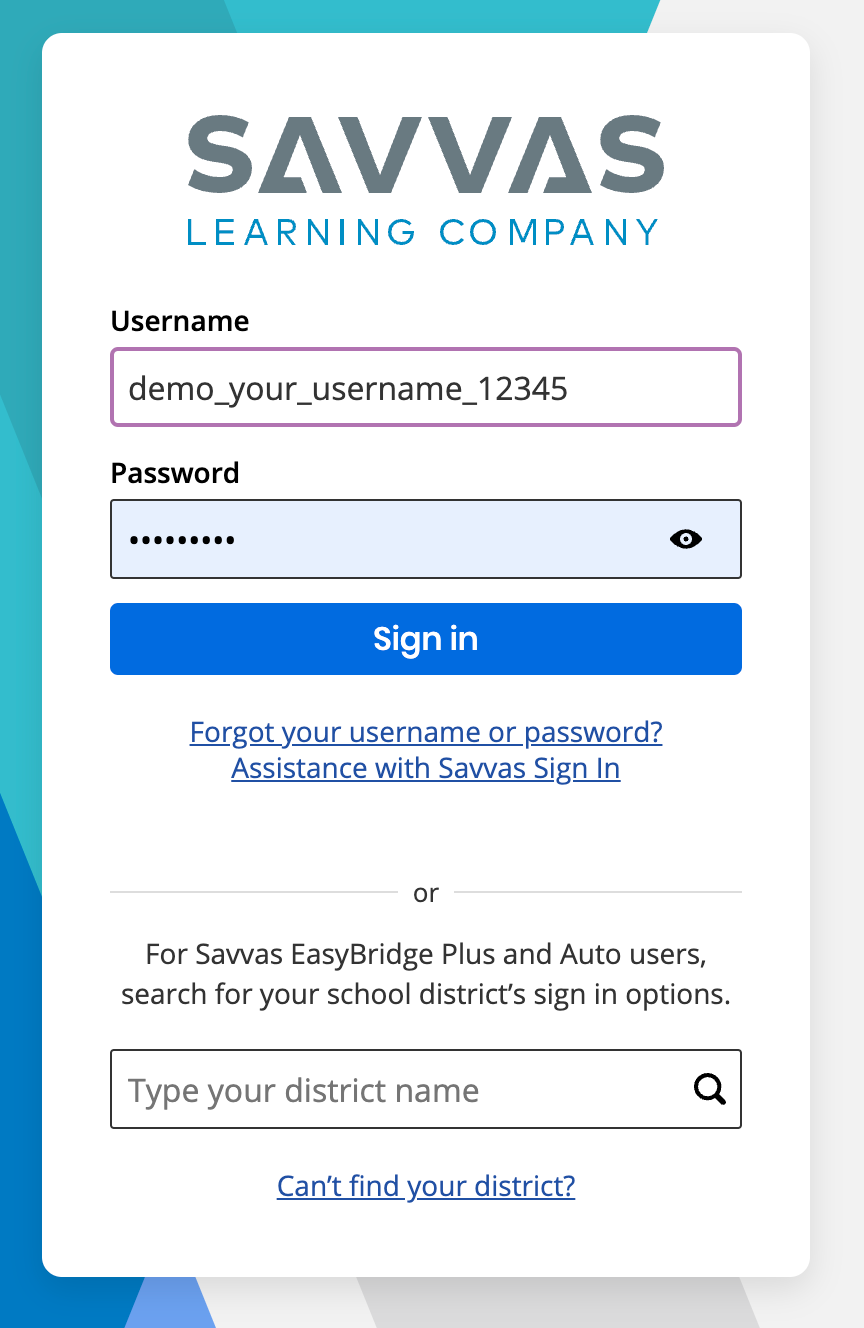
On the login page, enter the username sent to you via email.
For the password, enter the password you created in Step 3.
Note: If you already have a Realize account for another product, you must use your demo account username and login to access your free trial. If the login screen autofills with saved credentials for your existing Realize account, please be sure to delete both the autofilled username and password and manually enter your demo account username and password.
STEP 7
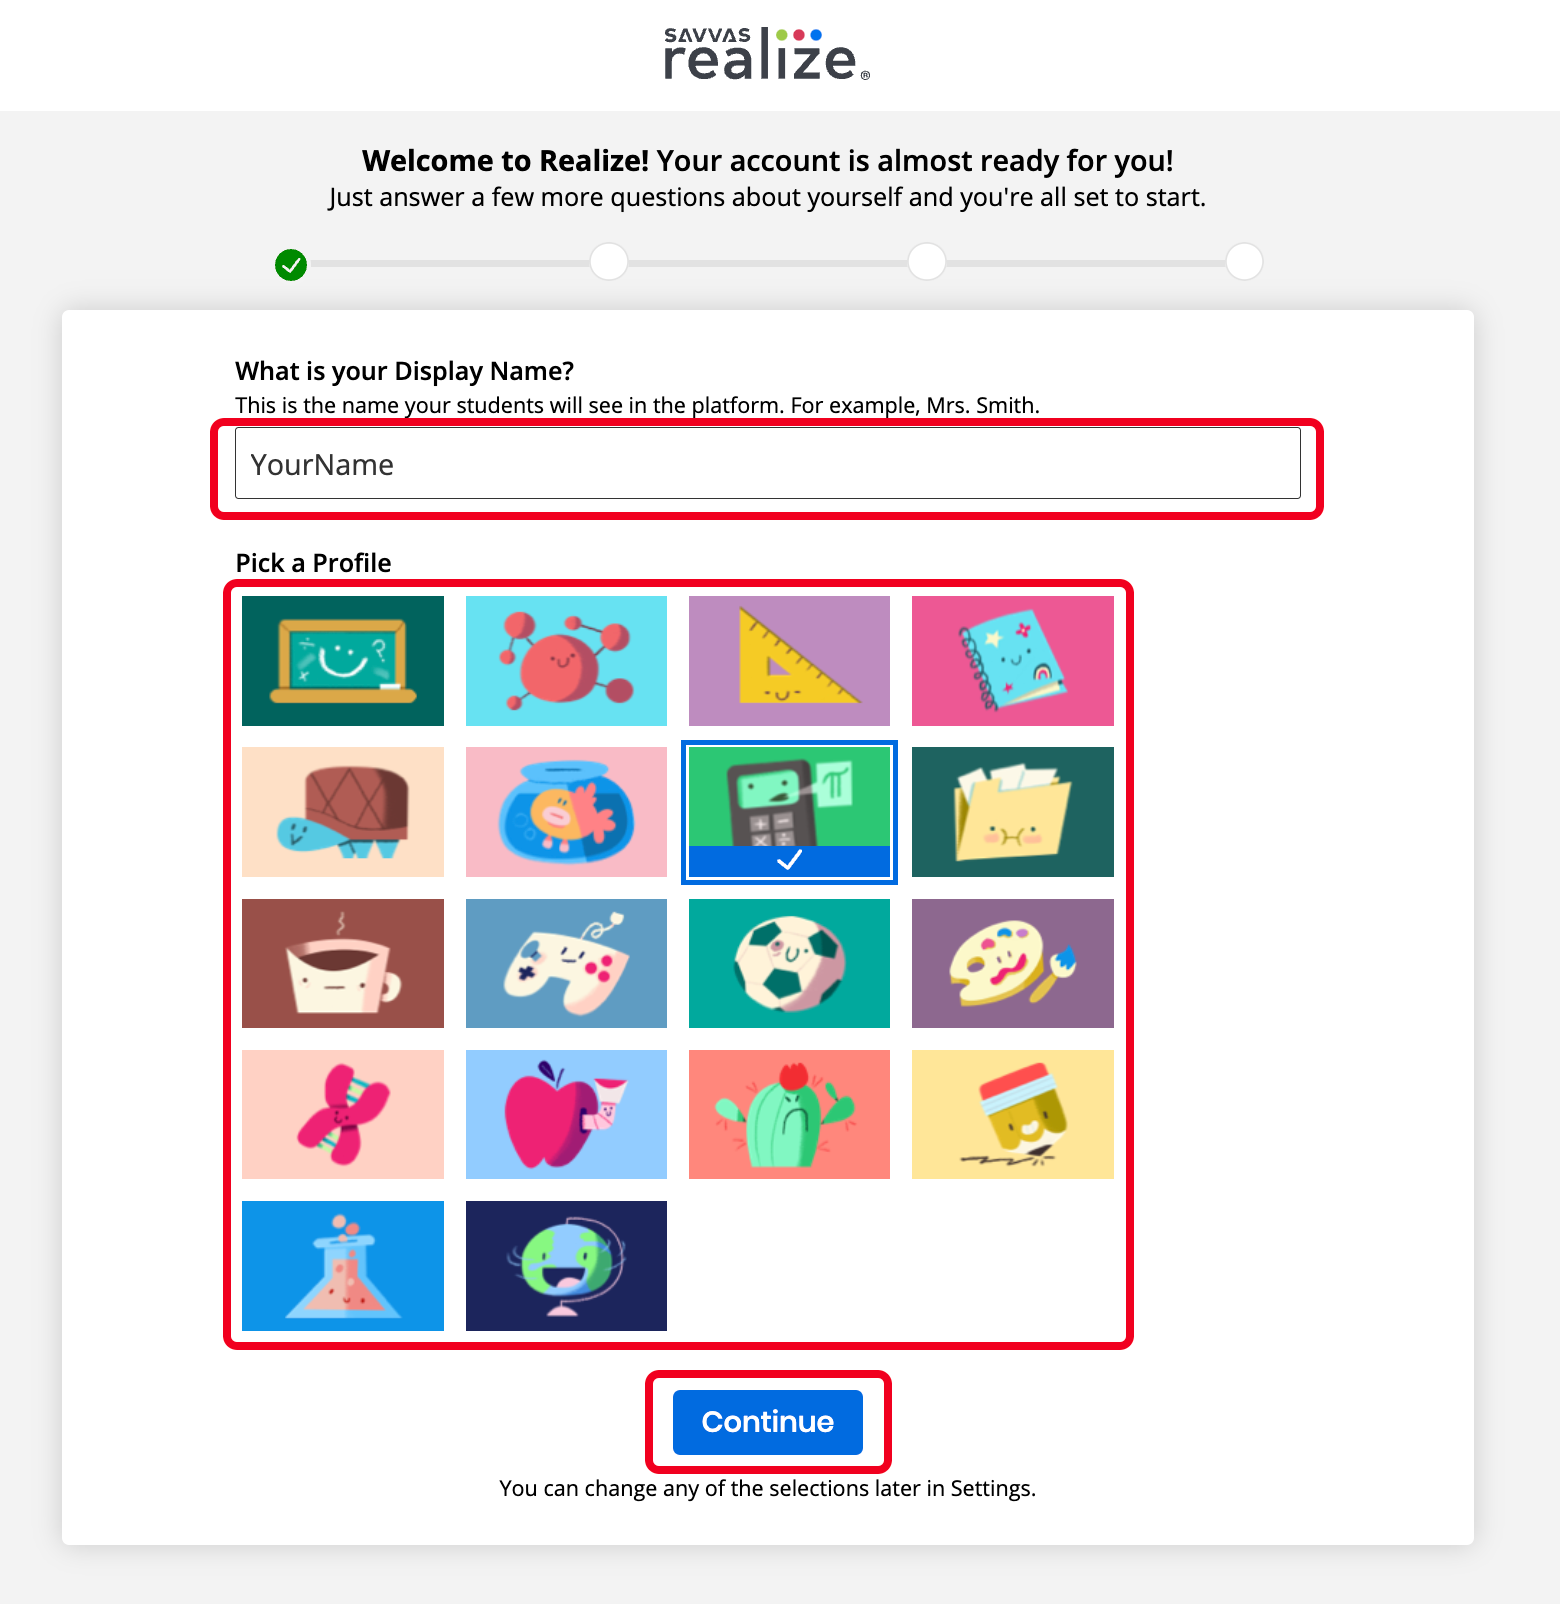
The first time you log in to your demo Savvas Realize account, you will need to set up your account.
Enter your name as your students would address you.
Pick a profile icon.
Click Continue.
Note: You can change any of these selections later in Settings.
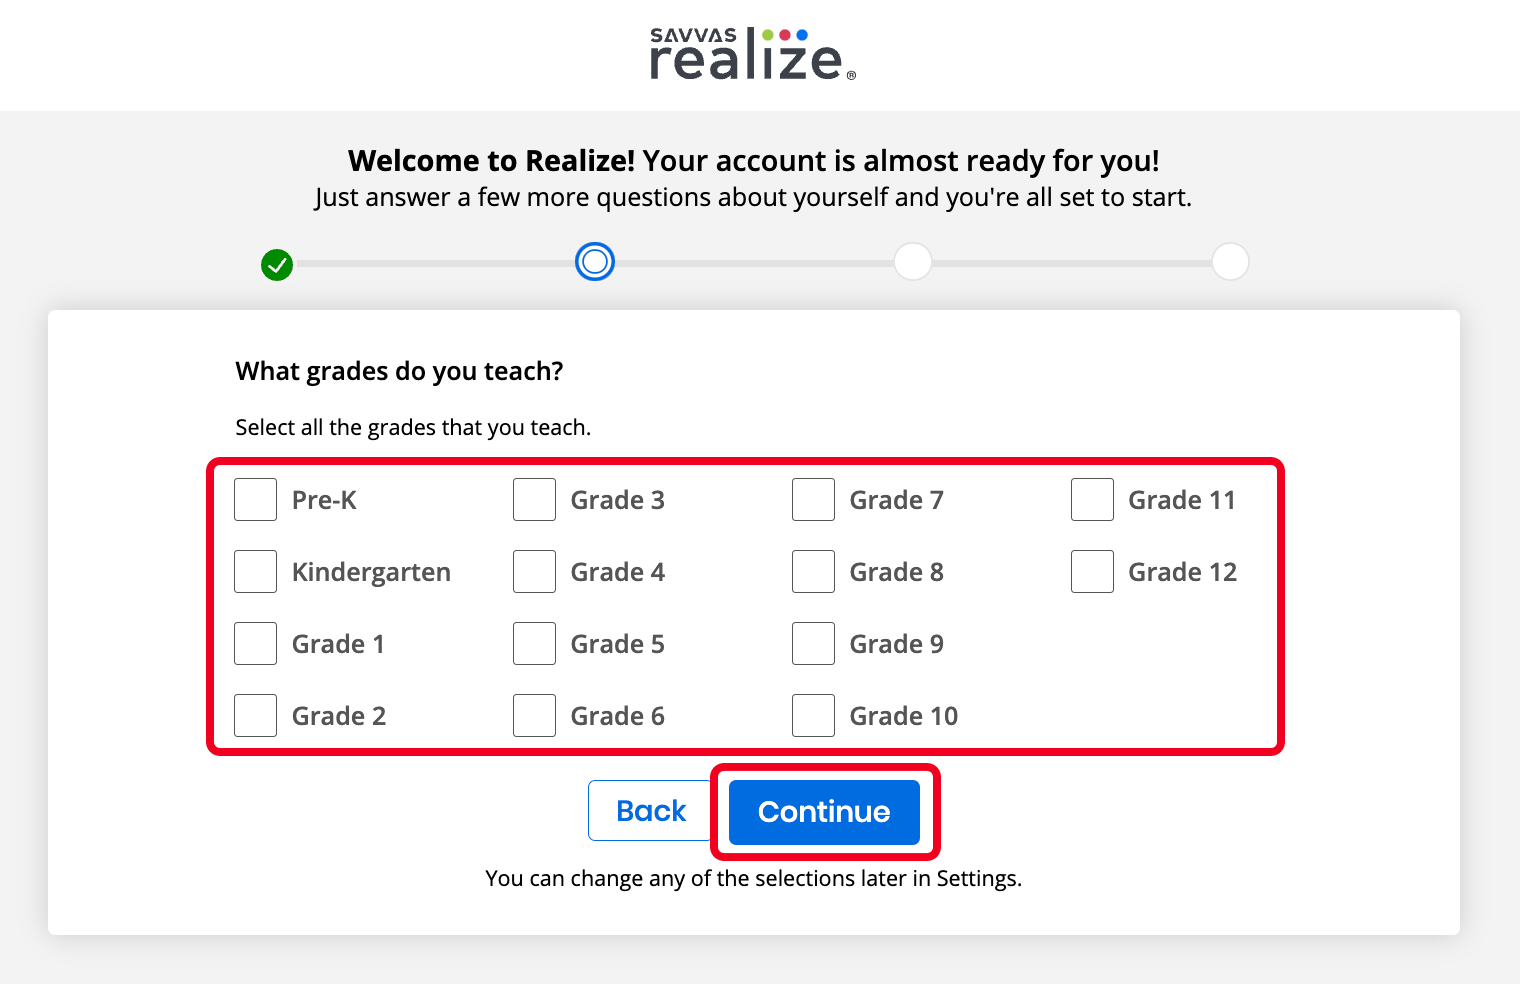
STEP 8
First, select all the grade levels that you work with. You may select multiple grade levels.
Click Continue.
STEP 9
Select MathUP Student Preview. Note that many programs are listed and you will have to scroll to the bottom of the list.
Click Continue.
STEP 10
Click the licence agreement link to read the licence agreement.
Then click the checkbox to indicate that you agree to the licence agreement.
If you’d like to get more information about Realize, check the second box.
Then click the Let’s Go! button.

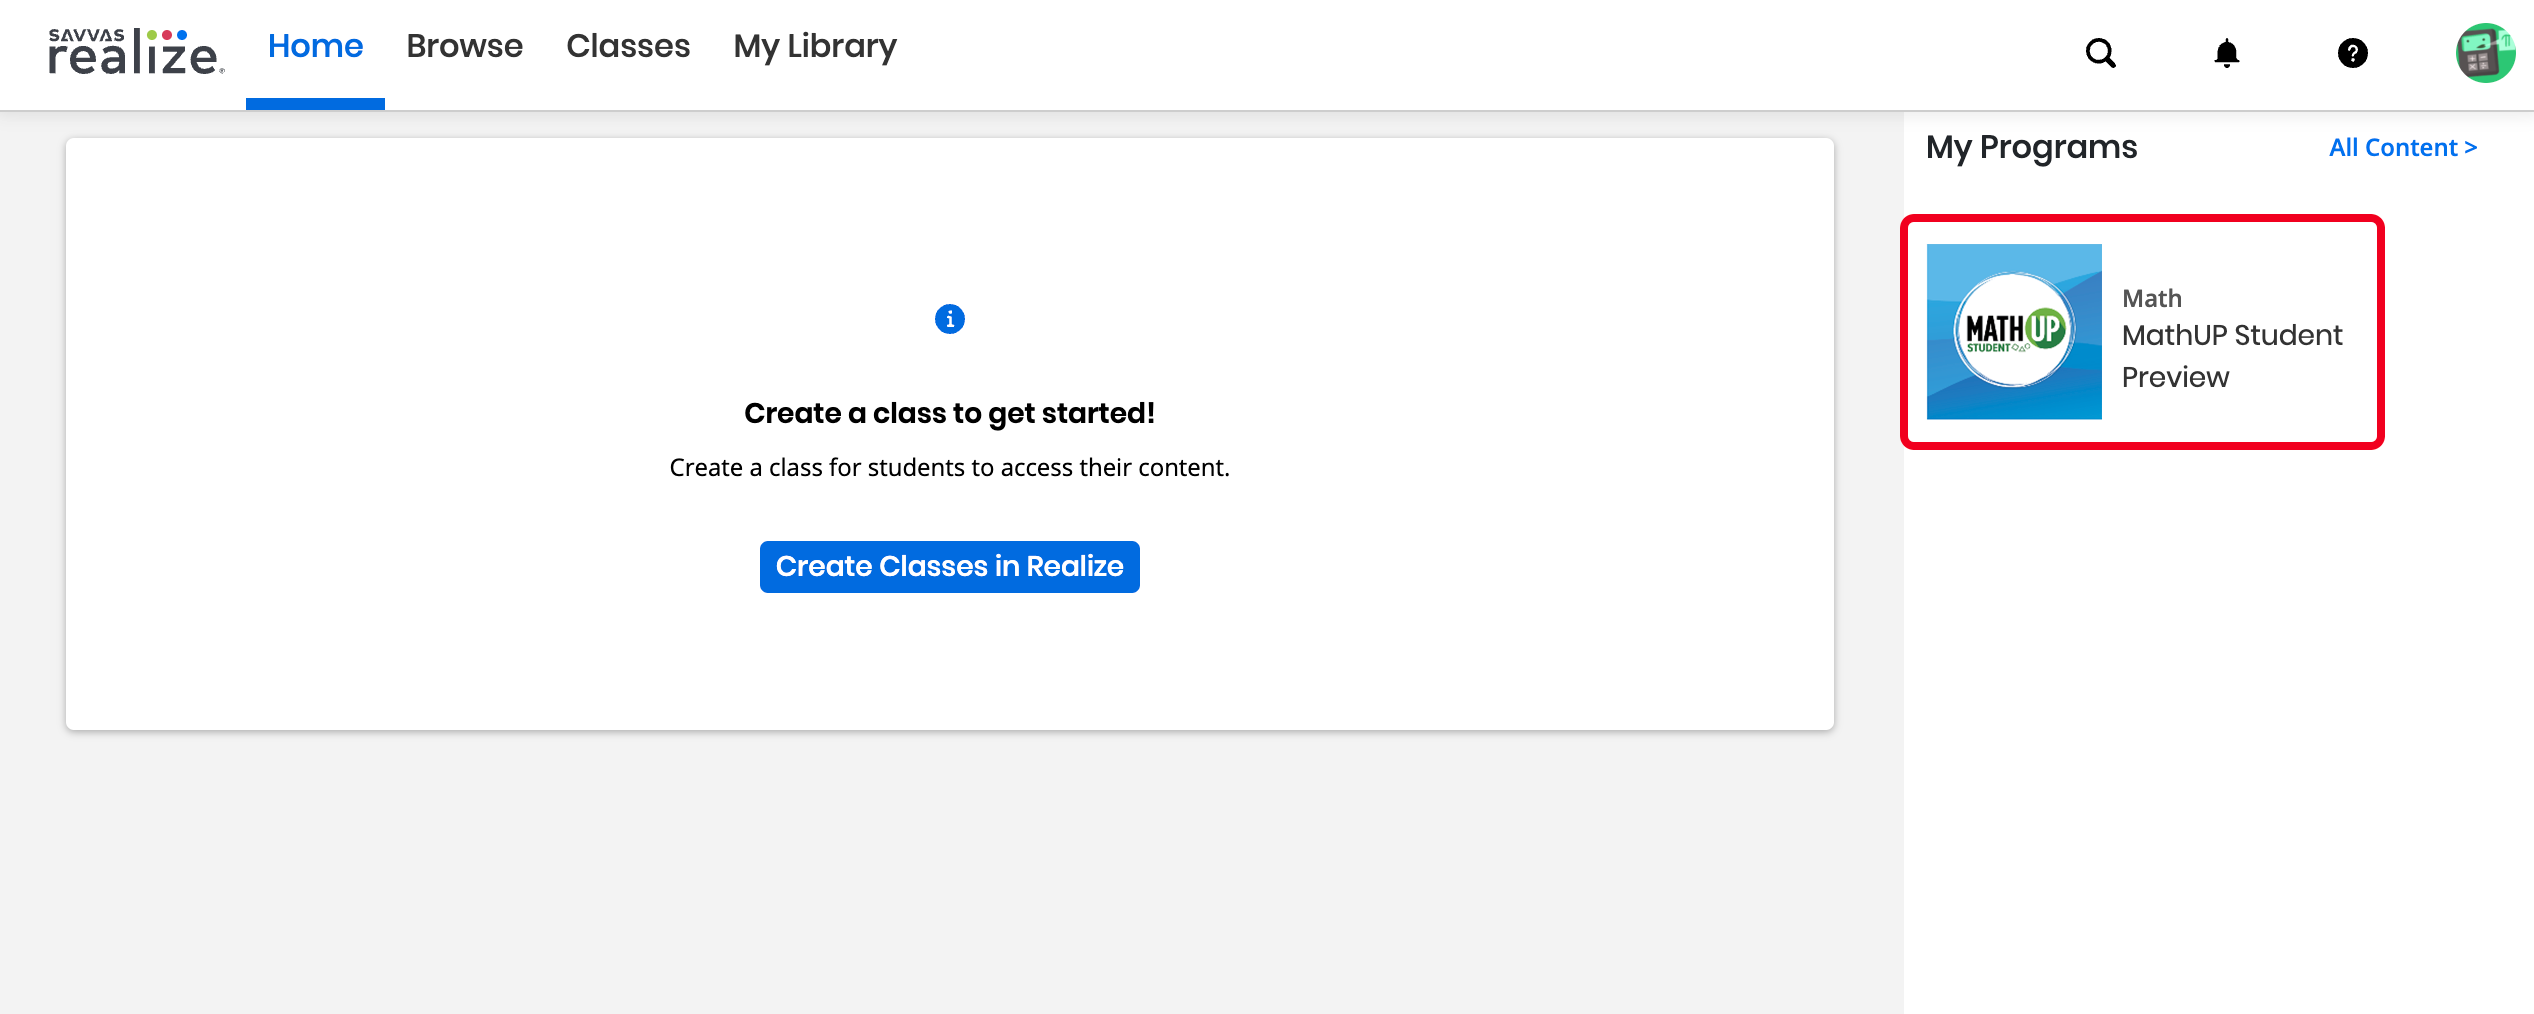
STEP 11
Click MathUP Student Preview in the right panel to dive into the preview.
STEP 12
Enjoy your free trial! You will now have 30 days to try and to review the program(s) you selected. After 30 days, your credentials will be turned off.
Please visit the Savvas Support site if you run into any technical issues.
If you have any questions about Rubicon, a Savvas Company products or services, your local representative would be happy to help out!